
We are all familiar with that instant association when we enter a chosen address in a web browser and immediately arrive at the desired website. But how does this happen exactly? How does your computer or mobile device «know» where to direct you on the global Internet? The answer is a domain.
A domain is not just a sequence of characters we type into the web address bar. It is a crucial element that defines the location of your website on the Internet and allows users to find it. To better understand this, let’s take a closer look at the process of connecting a domain to your chosen hosting provider in this article. We will cover all the necessary steps and provide important recommendations to help you start your journey into the world of web development easily and successfully.
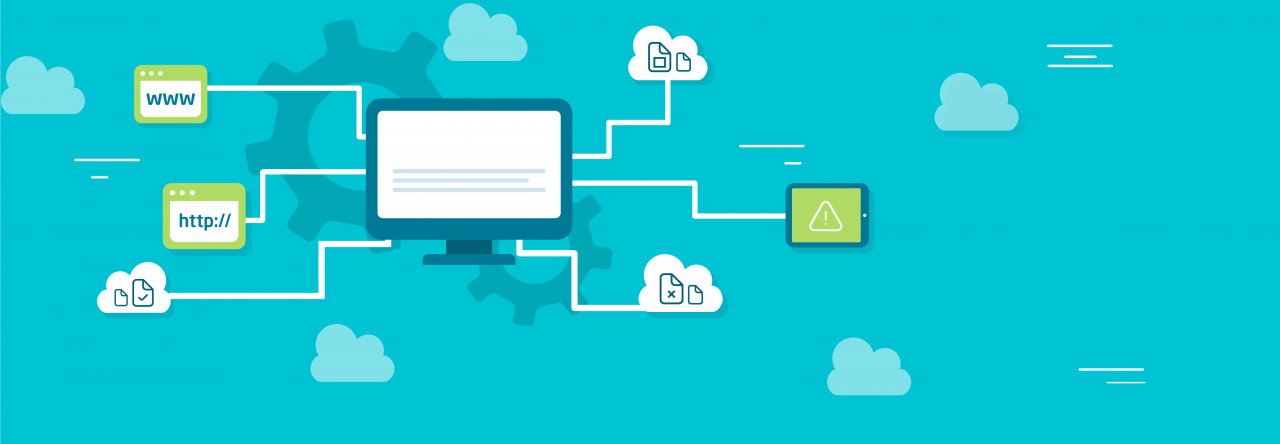
The Essence of a Domain and Its Role
Let’s remind ourselves that a domain is the unique address of your website on the Internet that helps users find your site. It serves as an analogy to a phone number for your web resource. Domains are easier for people to remember than IP addresses since they can contain words or phrases, such as «example.com». When a user enters a domain into a web browser, the Domain Name System (DNS) translates this domain into the corresponding IP address of the server where your site is hosted, facilitating the connection with the server.
But how do you make sure this process actually happens? We’ll discuss that further in our article.
Steps for Connecting a Domain to a Hosting Provider
Connecting a domain to a hosting provider is an important step in launching your website, so it’s essential to follow the correct and sequential steps. Among them, we highlight the following:
Step 1 – Choose a hosting provider.
First and foremost, you need to select a hosting provider where your website will be hosted. When choosing a provider, consider factors like price, services offered, user reviews, and customer support quality.
Step 2 – Register on the hosting platform.
After choosing a provider, register on their website and create an account. During registration, select a pricing plan that suits your needs.
Step 3 – Obtain DNS addresses.
You need to obtain DNS addresses (Name Servers) from your hosting provider. These are crucial addresses that specify where your website is located on the network.
Step 4 – Set up DNS addresses.
After receiving DNS addresses from your hosting provider, you should go to your domain registrar (the service where you purchased the domain) and change the DNS addresses to the ones you received from the provider. This option may be labeled as «Change DNS» or «Change Name Servers». Typically, this involves filling in two fields with the new DNS addresses.
Step 5 – Wait for DNS updates.
After changing DNS addresses with the domain registrar, allow several hours for the updates to propagate across the network. This process can take anywhere from a few hours to 48 hours.
Step 6 – Check the functionality.
After completing the DNS updates, check the functionality of your website by entering the domain in a web browser and ensuring that the site opens on the hosting provider’s server.
Recommendations for a Successful Domain Connection
Lastly, we want to provide you with some recommendations to ensure a successful domain connection.
- Before making changes to DNS addresses, create a backup of your settings. This may be necessary in case of unforeseen issues.
- Double-check that you’ve entered DNS addresses correctly; even a small mistake can lead to site inaccessibility.
- Don’t forget about payment terms and domain registration renewal to avoid losing control of your domain.
- If you encounter difficulties or are unsure of your actions, don’t hesitate to seek assistance from your hosting provider’s support or your domain registrar.
In summary, connecting a domain to your chosen hosting provider is a crucial step in creating your own website. At first glance, this process may seem complex, but with the right steps and recommendations, it becomes more understandable and achievable.
May your website thrive and grow on its new hosting, and remember to follow security best practices and regularly back up your data.
Best of luck in creating your internet presence!
Leave a Reply