
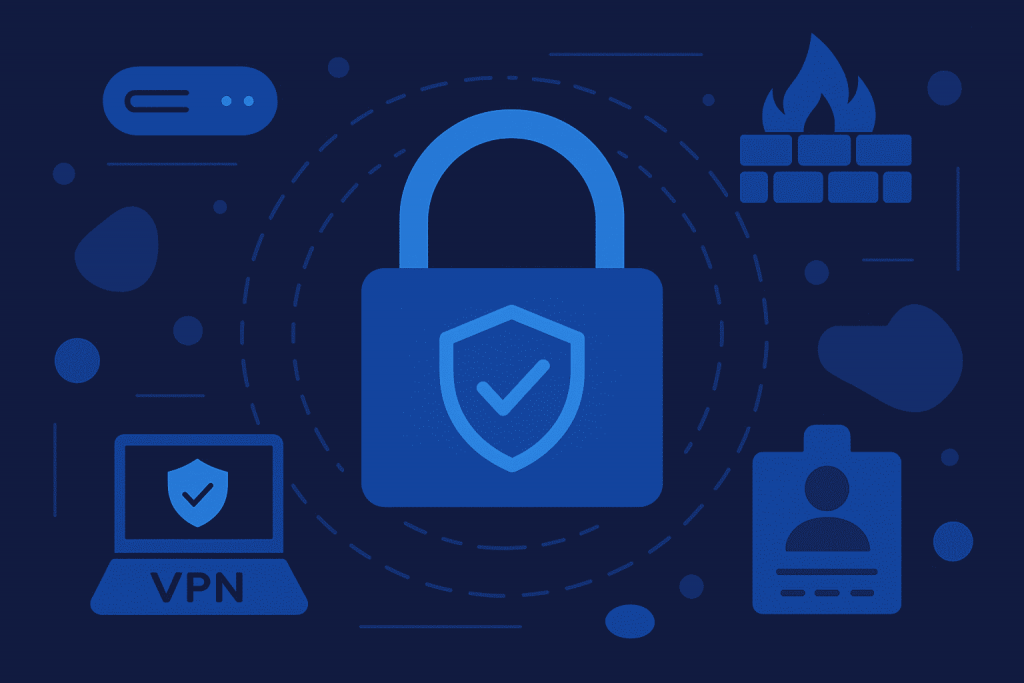
Zero Trust is more than just a buzzword — it’s a modern cybersecurity strategy where no user, device, or service is trusted by default. In a world where threats can come from both outside and inside the infrastructure, this model has become the new standard for protecting systems and data.
In this article, we’ll walk through how to implement a Zero Trust architecture on a VPS, including how to set up a VPN, firewall, and access control. This approach allows you to build a secure and isolated infrastructure even without enterprise-level tools or budgets.
What Is Zero Trust and Why Does It Matter?
Traditional security models rely on perimeter defense — firewalls, antivirus, and network segmentation. But once an attacker gets inside, users often have more access than they need, and a single vulnerability can compromise the whole system.
Zero Trust flips this model by focusing on three core principles:
- Never trust by default — each request is verified, regardless of location.
- Least privilege access — users and services get only the permissions they truly need.
- Continuous verification and monitoring — access is based on context, behavior, device, and role.
By combining Zero Trust with VPS hosting, you gain a flexible and secure platform — independent of major cloud providers.
What You Need for Zero Trust on a VPS
To build a Zero Trust environment on a VPS, you’ll need:
- A virtual private server (VPS) with root access, SSD storage, a dedicated IP, and scalability options. You can rent a VPS at RX-NAME.
- A compatible operating system (e.g., Ubuntu 20.04+ or Debian 11+).
- Basic knowledge of Linux terminal, SSH, and firewall configuration (iptables or nftables).
Step 1: Set Up a VPN (Virtual Private Network)
VPN provides an encrypted tunnel between the client and the server, securing traffic from eavesdropping. It’s the foundation of Zero Trust — all insecure external access should be disabled.
Recommended VPN: WireGuard
WireGuard is a modern, high-speed, and lightweight VPN protocol. Install it using:
bash
sudo apt install wireguard
After generating keys, configure the wg0.conf file. Only allow the WireGuard port to be open on the server, and block all other external access — including SSH and HTTP — unless it goes through the VPN.
Step 2: Restrict Access Using a Firewall
The next layer is your firewall — essential for controlling both inbound and outbound traffic.
Simple Setup: ufw or nftables
For ease of use, ufw (Uncomplicated Firewall) is ideal:
bash
sudo ufw default deny incoming
sudo ufw default allow outgoing
sudo ufw allow 51820/udp  # WireGuard port
sudo ufw enable
Only allow other ports from trusted VPN IP addresses.
Step 3: Enforce Access Control
Inside your VPN, not all users or services should have equal privileges. Isolation and access management are vital.
Best Practices:
- Limit sudo access and implement role-based access controls.
- Use Fail2Ban or CrowdSec to block brute-force attacks.
- Assign separate service accounts with minimal permissions.
- Log and audit activity using tools like auditd or Wazuh.
- Rotate SSH keys and passwords regularly.
Limit access to control panels, dashboards, and internal APIs with strong authentication and, ideally, SSL certificates.
Step 4: Add Extra Security Layers
For a truly robust Zero Trust setup:
- Enable two-factor authentication (2FA) for SSH and web services.
- Segment your environment using containers or internal VLANs.
- Implement real-time monitoring (Prometheus, Grafana, or Zabbix).
- Set up automated backups with encrypted storage on remote nodes.
Even if one layer is compromised, others will remain intact.
Conclusion
Zero Trust isn’t just about security — it’s about visibility, accountability, and full control over your digital assets. And with modern VPS capabilities, you don’t need enterprise-level solutions to achieve it.
Key takeaways:
- All traffic must go through encrypted channels like VPN.
- Block everything by default — whitelist only what’s needed.
- Enforce strict user and service access control.
With a VPS from RX-NAME, you can deploy a fully private and secure Zero Trust architecture for your apps, databases, CI/CD pipelines, and more — all under your control.
Leave a Reply